
How to Clean Up After a Pigeon Infestation

Pigeons are a nuisance when they decide to make your property their home. They can cause structural damage and leave behind toxic smelly droppings known as guano. These droppings are not only smelly, but they are also dangerous and carry many diseases and parasites. In this guide, we will give you five clear steps on how to clean up after a pigeon infestation, these steps are:
Assess the damage.
PPE.
Remove Guano.
Clean and Sanitise.
Pigeon Proofing.
Please read below for more details.
1. Assess the Damage:
Before starting the cleaning, it is important to assess the damage left behind by the pigeons. You must inspect thoroughly, checking for nests that are active, seeing if wires or brickwork have been damaged. If a nest is active within your property, you must call the proper authorities to move it, as it is illegal to disturb a nest yourself.

2. PPE:
Pigeon guano can hold harmful bacteria, fungus and parasites which could cause health risks to humans. The way you get sick from these particles is through accidentally ingesting them or inhaling them. This is why it's extremely important to wear PPE. Before attempting any cleaning, you must wear a respirator mask, gloves, full paper suit and goggles. This will keep you safe from any dangerous particles.
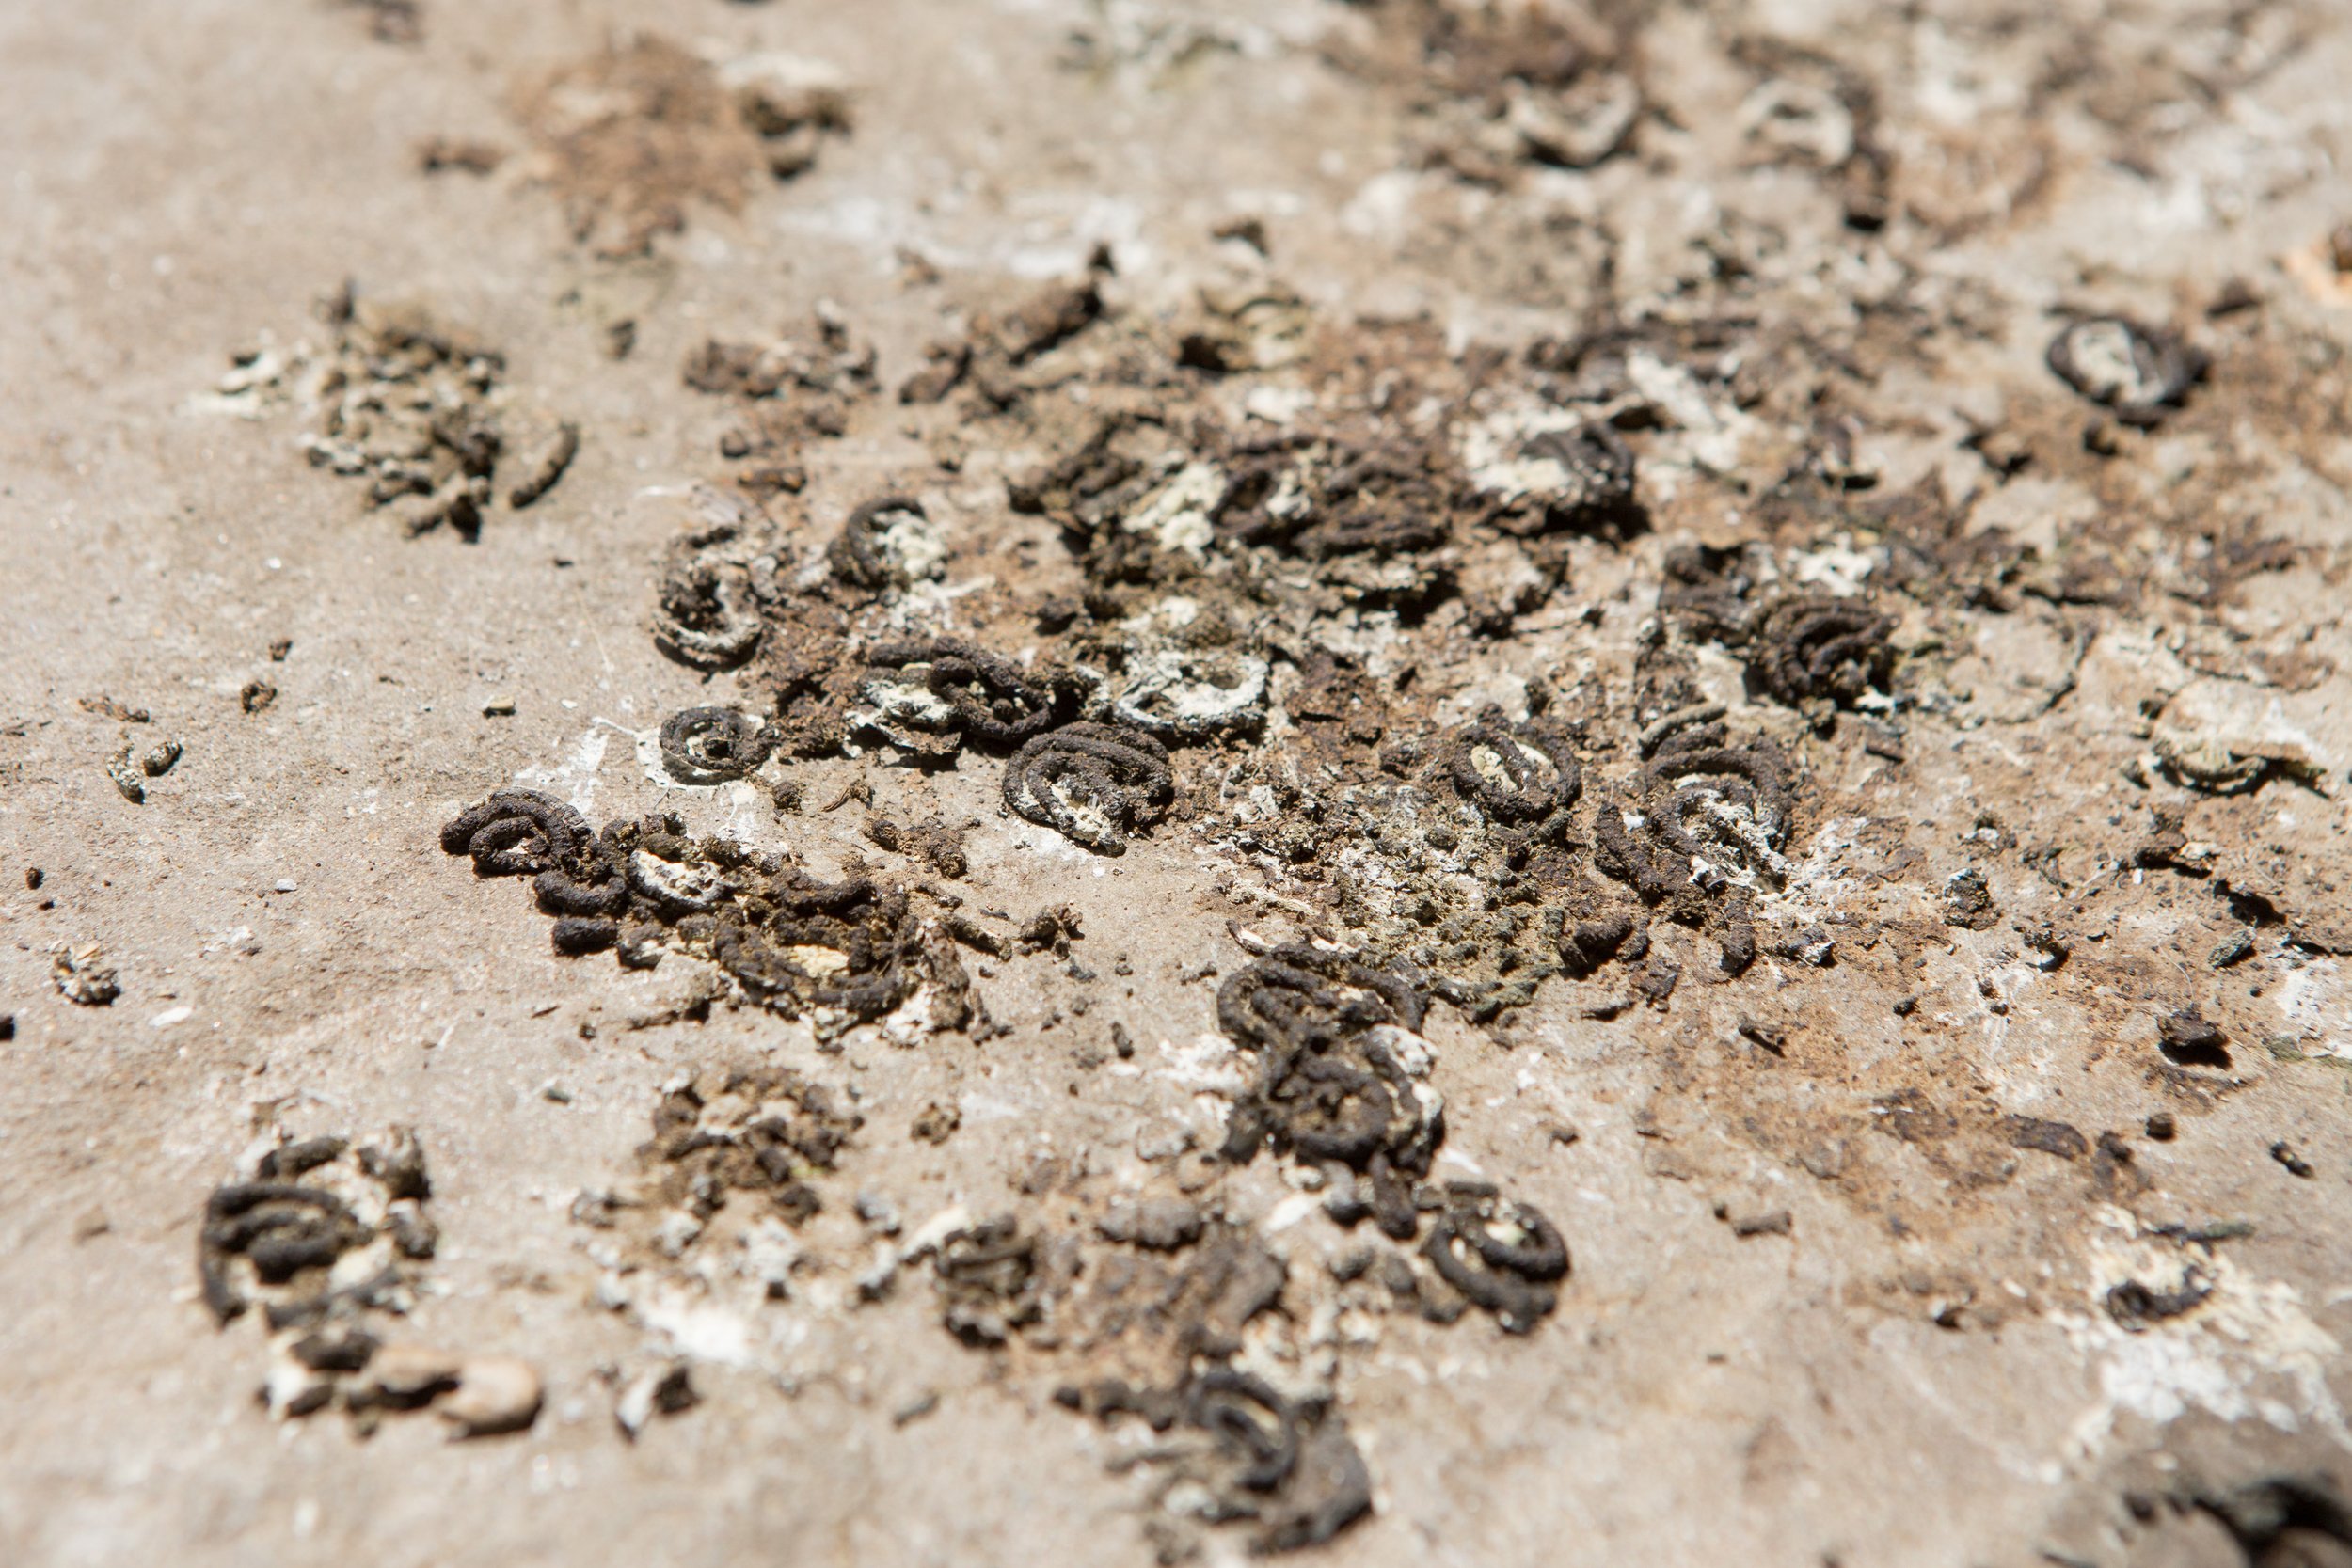
3. Remove Guano:
The next step is to remove the guano from the affected areas in the property. Before any removal, the first step is to wet it with sanitiser. When the guano is dry and scraped up, it will kick a lot of particles into the air which are then easily inhaled. We always wet and sanitise the waste first before removal, as it will lessen the amount of hazardous dust greatly. When you remove the guano, it is important to double bag the waste, to ensure there is no cross contamination. Pigeon guano itself is no longer classed as hazardous in the UK, meaning small amounts can be disposed of in your home wheelie bin.
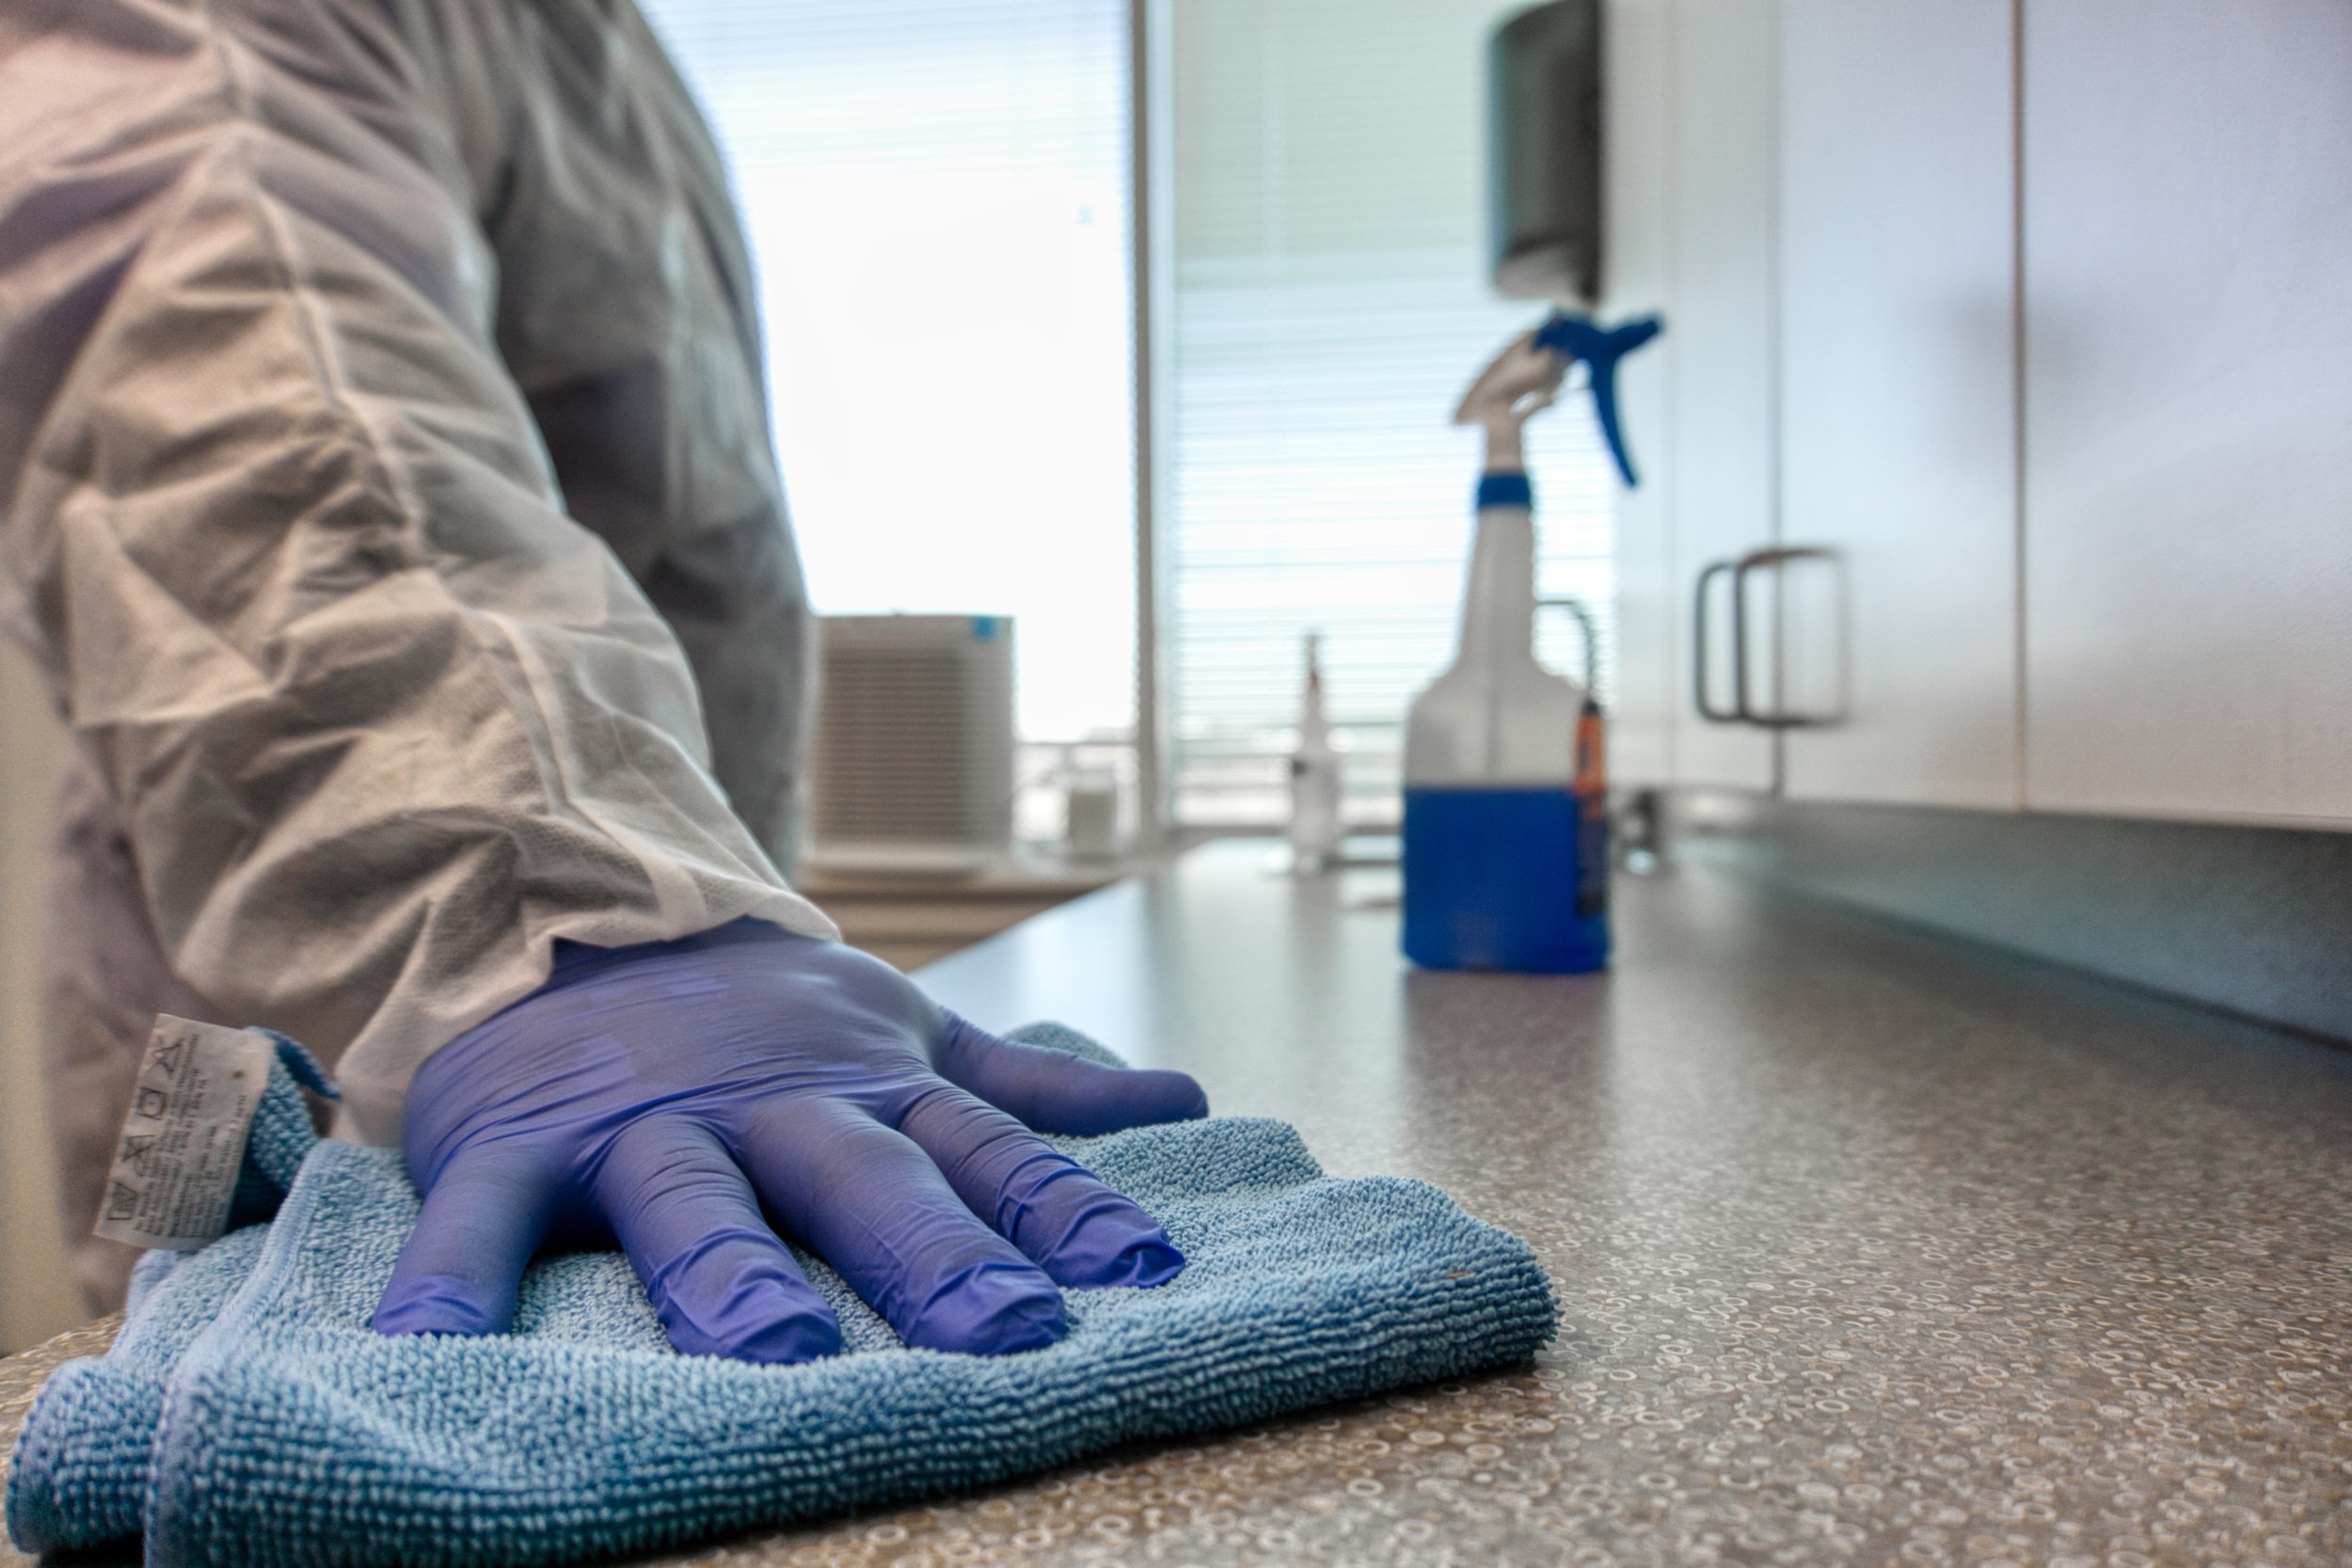
4. Cleaning and Disinfection:
When you have removed the guano it is now time to start cleaning and sanitising. You will need a specific sanitiser for pigeon guano, as regular house hold products cannot kill all bacteria, viruses, diseases and parasites contained within the guano. These sanitisers can be found online, but some products may need a license to buy them. You should spread your sanitiser generously on the affected areas and manually wipe down the areas with a cloth, sponge or other cleaning tool. Once these areas have been fully saturated with sanitiser, leave the sanitiser to do it's work. This can be a time consuming process, especially if the pigeons have been left unchecked for an extended period of time.

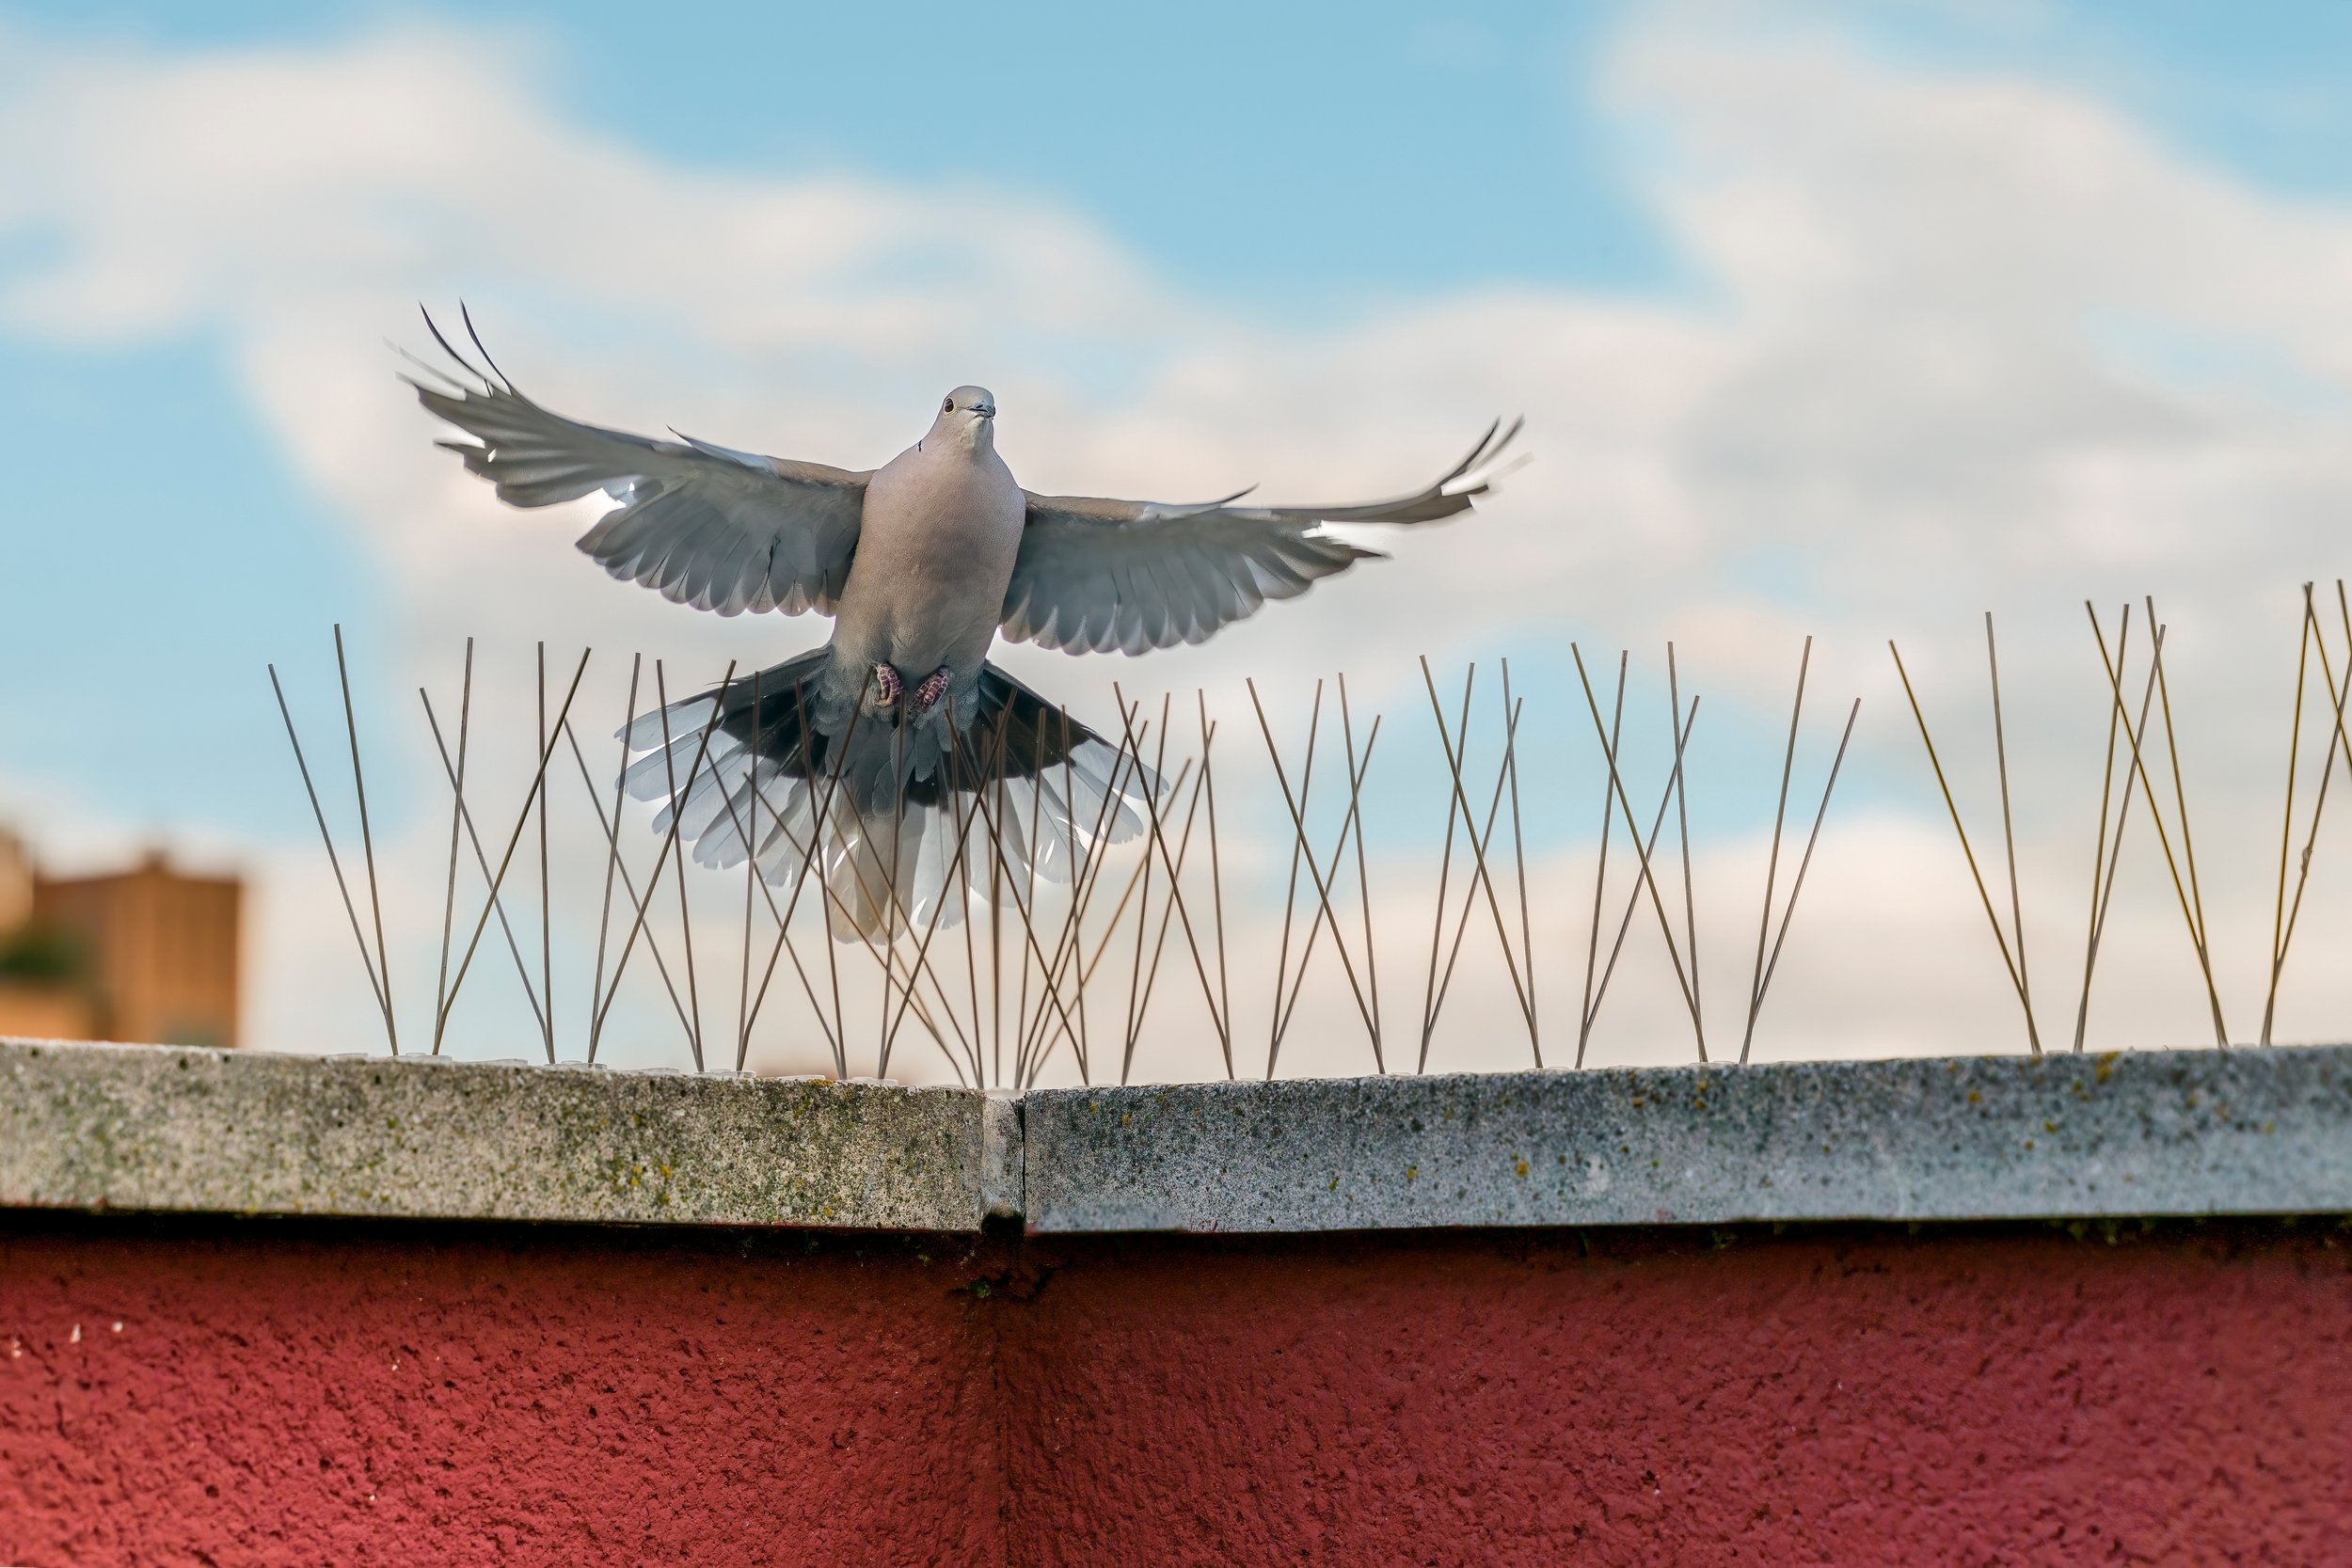
5. Pigeon Proofing:
The last step after the cleaning process has been completed, is to pigeon proof your property. If the pigeons still have access to your property, they will come back. The use of netting, ceramic discs and spikes in areas where the pigeons roost will deter them from doing so. Also if there are holes which the pigeons can gain access into your property, you should fill these as soon as possible. Once this process is completed, you will not have to worry about pigeon guano anymore!
That concludes our guide into cleaning up after a pigeon infestation. Here at Emergency Clean UK, we offer a comprehensive and stress free service for pigeon guano cleaning. It can be a dangerous task to conduct and if there's large amounts it's hard to know where to start. We can give you a free quotation for the pigeon guano cleaning and have teams all across the UK with great availability to attend anytime. If you are interested in this service and would like to know more, please click the button below.